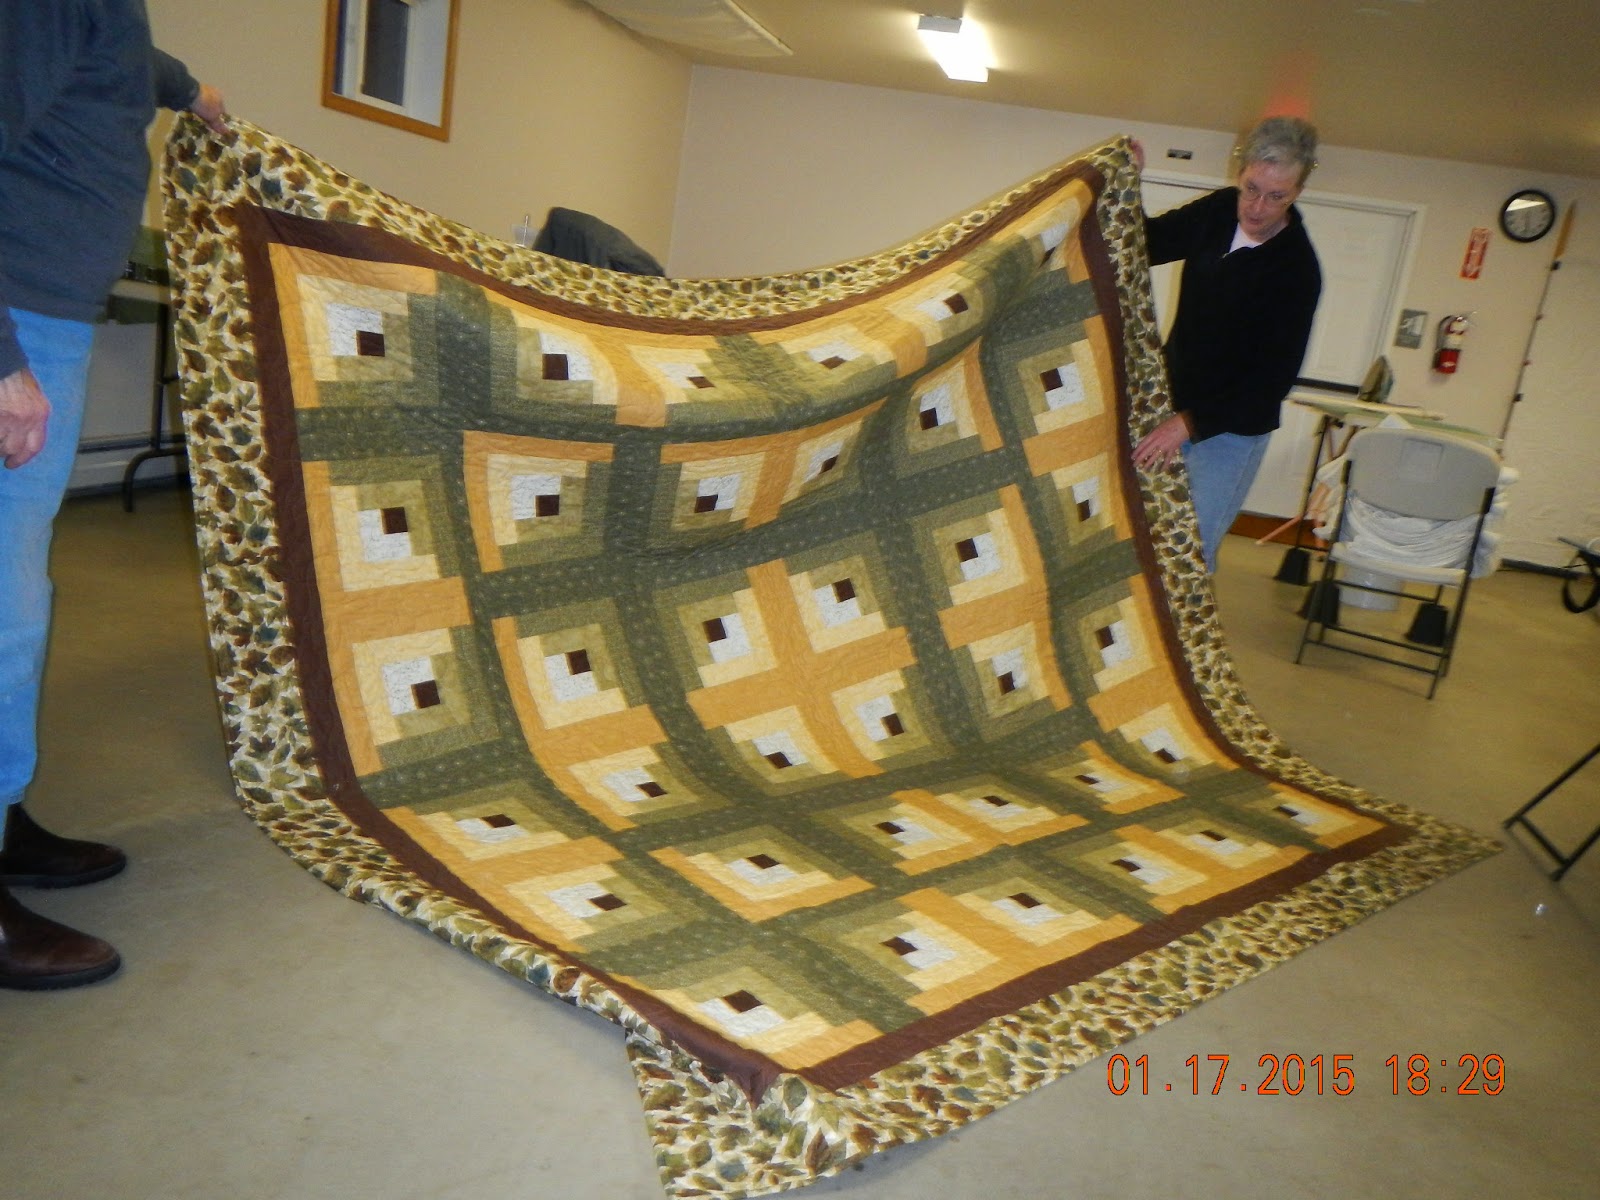
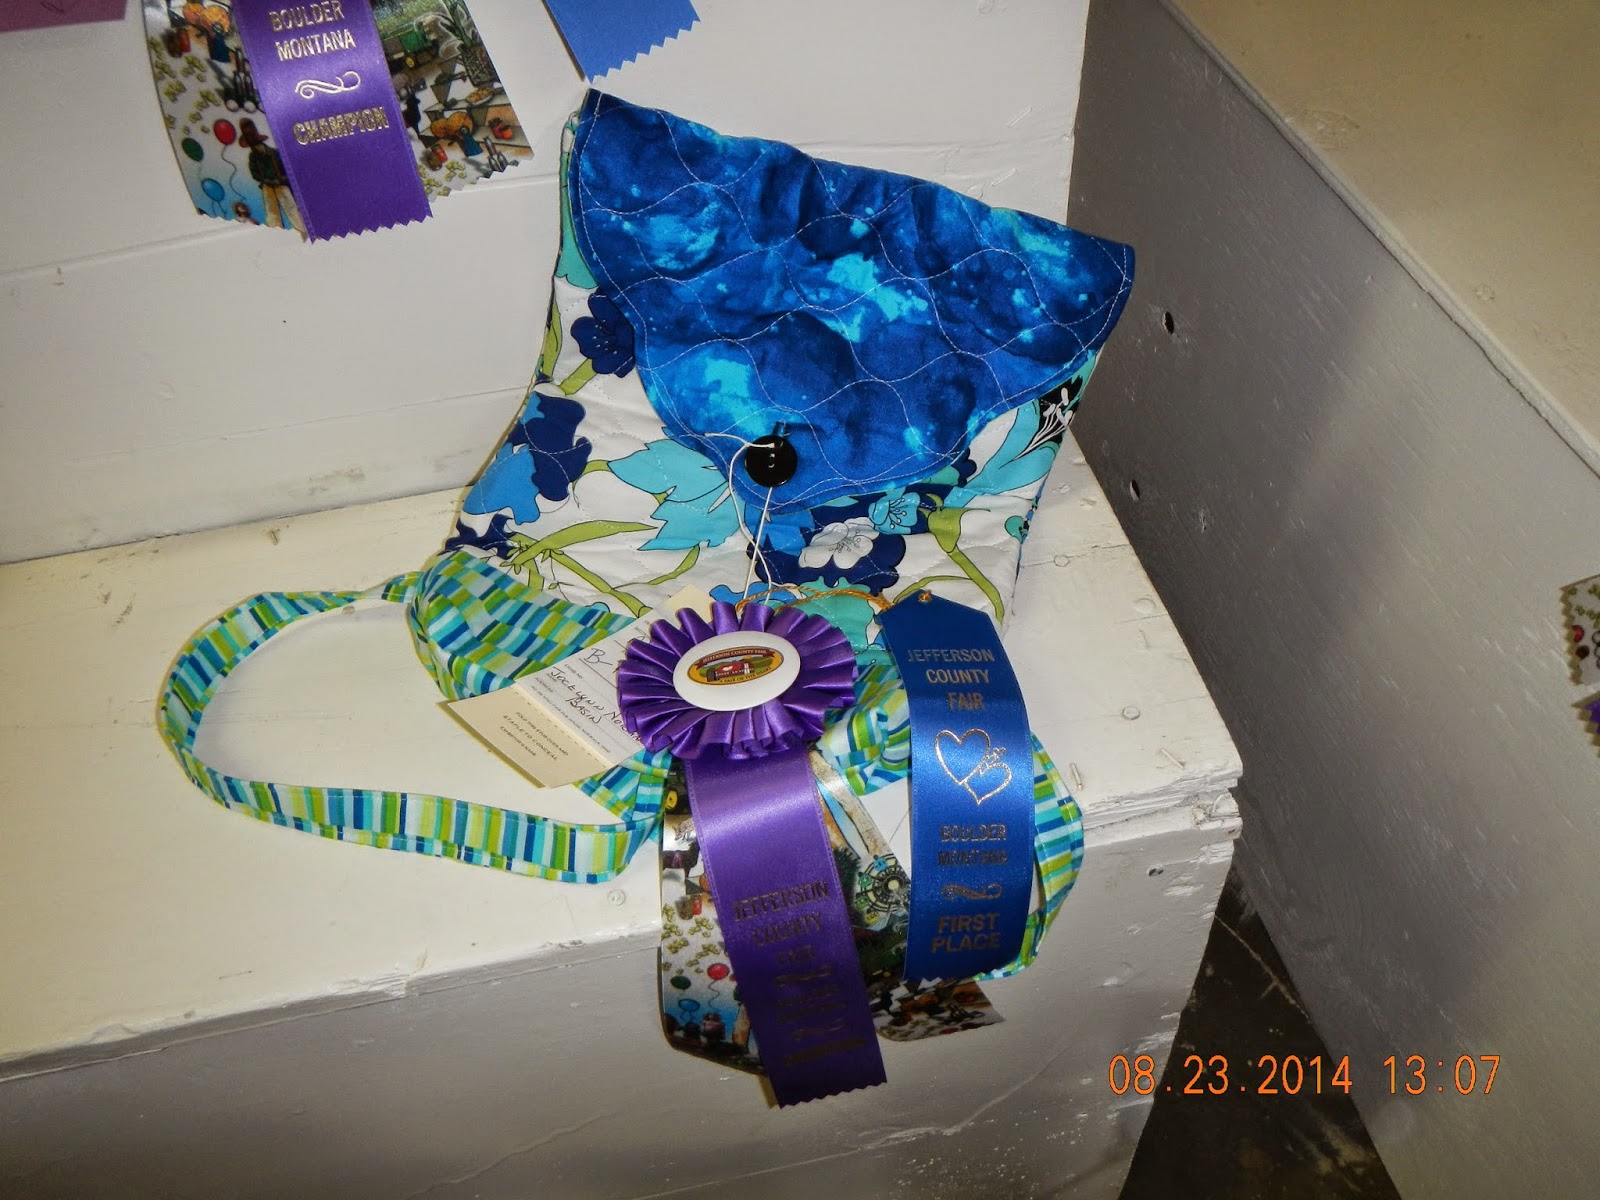
Sometimes I just like looking at the pictures....Here is an array of beautiful quilts done by our local Quilt Guild members of whom I am so blessed to know for they are the sweetest sisters, with their nonjudgemental, encouraging, teaching, words and love!
Above is the latest Grand Illusion Quilt Along made by my friend Sara, you can see her post and find out where to get the pattern on her Blog right Here
This is a trip around the world done in all western fabric. It is fantastic.
This is the falling charms pattern that I did and below is the backing fabric that I chose. The purple paisley was the perfect shade I thought.
What a cute garden fabric this is.
And these are adorable machine embroidered princesses and the perfect fabrics to go with them.
Saturday, January 31, 2015
Sunday, January 25, 2015
Grow Your Blog 2015
Today is the day for our Grow Your Blog 2015 Party! This is a great opportunity for us to get together and share what makes us happy about who we are or want to be!!!!
So let me introduce myself. I am Shelly Heronemus and live in the Montana mountains. My love of quilting has flourished over the last 26 years and I now share in that love teaching 8 town girls how to sew. We have alot of fun getting ready for Fair week and eating treats and talking about sewing!
I look forward to meeting everyone and I hope you enjoy my blog also. Thanks for stopping by.
Thursday, January 22, 2015
Embellishments and fun!
These elf shoes were made with great enthusiasm due to the fact that the girls would be putting bells on the toes....One of my girls (9 years old) hosted a whole dinner party for her family, complete with an elf hat and apron to go with her elf shoes. She made the menu, sent invitations and gave gifts to complete the whole elf theme. I would've loved to have been there.
Don't you wish you had a pair? I was actually the winner of a book called Sew Fun: 20 projects for the whole family by Debora Fisher. Venessa Vargas at The Crafty Gemini hosted the giveaway. We have alot of fun making projects from this book.
Here I have just been playing around with some spirograph quilting with a ruler along side my presser foot.
I marked it first and then just went from dot # 1 on one leg of the triangle to dot # 1 on the opposite leg, and just kept going around......The only reason I quit is because I ran out of bobbin thread. It would be pretty neat when finished, and/or in any other shape.
Now the last thing I have to show you is
a panel that I have been embellishing
with french knots and things to make the
flowers on the rocks come alive. Let me tell you
now, I am not an artist but as I made these changes
I couldn't believe how life-like they became.
I have the rest of this panel of ships and seafoam fabrics to with the Lighthouse and I just can't wait to get this quilt or wall hanging, I haven't decided which, finished because I can add alot more
with my quilting.
Thursday, January 15, 2015
Grow Your Blog
I'm so excited to be joining a Blog Growing Party! I can't wait to meet new bloggers and share in eachothers stories!
If you would like to join, Just click on the badge I have on the right of this message and Join us! Hope to see you there. You know who you are.
Friday, January 2, 2015
Blackboard Fabric
Working with Blackboard fabric is very easy. We didn't need a Teflon foot or any special needles and they went through my Accuquilt cutter like butter.
The sewing girls made mug rugs and pillows and chalkboards for their mothers for Christmas presents. Don't they look so cute?
The sewing girls made mug rugs and pillows and chalkboards for their mothers for Christmas presents. Don't they look so cute?
They added pockets to these chalkboards to hold the sponge and chalk.
You can write anything you want on them with chalk and wipe it off with a damp sponge. They just sewed a little bit of elastic to hold the chalk on these ones, by folding the elastic in half and catching it underneath at the same time as they zig zagged the blackboard fabric down all the way around.
This, new to us, fabric was really fun to play around with and I've seen many more applications surfacing on the internet. So If you were wondering about it, I'd say yes, have a go at it. It's fun!
Thursday, January 1, 2015
Labels Labels Labels
Well our left over Labels are not good anymore if they had the year of your quilt on them, It's time to make new ones! I make all different kinds and I've been taught by many about how they make theirs.
I get asked, often, about how I make my Labels so I thought I would show some and tell you about my 'go to' one that I make.
I used a paper-backed fabric that I can run through my printer and I printed my blogname on it and my actual name and the year. As you can see in the first picture (top right).
I do a zigzag stitch on each side and fold it in half, and iron.....
When I'm putting on my binding I put the raw edges of it even with the raw edge of the back of my quilt and proceed to sew my binding on as usual from the front first and then fold over to the back where this label will be.....Where on the back of the quilt do I put my label you ask? The bottom right on the side usually, but that's only because I always start my binding on the right side front so I just put it there to get the finaggling over with.
This Appliqued Bumblebee was designed by: Lori Holt...I was part of her QAL in 2013.
This is a business card that we will hopefully be making a label for....One of my Sewing Girls (12yr. old) designed this for herself for she has big plans of becoming an Entrepeneur of Sewing and Crafting.
This Label was made with my sewing machine and it's lettering capabilities....Be sure to back it with some stabalizer first....Make plenty and just tightly zigzag around the edges and applique it on....So Fun.
This Label was right smack dab on the front of the quilt because it was actually one of the 12 embroidered blocks in the quilt. Isn't that Super Cool?
And then you can totally just take one of the blocks from the front of your quilt and make an extra one...I stitched these with thread but you could type your story on a square like I talked about. And just like this one below.
 The complete story is typed on this one it just has alot of people's names on it so I didn't want to publish them.
I get asked, often, about how I make my Labels so I thought I would show some and tell you about my 'go to' one that I make.
I used a paper-backed fabric that I can run through my printer and I printed my blogname on it and my actual name and the year. As you can see in the first picture (top right).
I do a zigzag stitch on each side and fold it in half, and iron.....
When I'm putting on my binding I put the raw edges of it even with the raw edge of the back of my quilt and proceed to sew my binding on as usual from the front first and then fold over to the back where this label will be.....Where on the back of the quilt do I put my label you ask? The bottom right on the side usually, but that's only because I always start my binding on the right side front so I just put it there to get the finaggling over with.
This Appliqued Bumblebee was designed by: Lori Holt...I was part of her QAL in 2013.
This is a business card that we will hopefully be making a label for....One of my Sewing Girls (12yr. old) designed this for herself for she has big plans of becoming an Entrepeneur of Sewing and Crafting.
This Label was made with my sewing machine and it's lettering capabilities....Be sure to back it with some stabalizer first....Make plenty and just tightly zigzag around the edges and applique it on....So Fun.
This Label was right smack dab on the front of the quilt because it was actually one of the 12 embroidered blocks in the quilt. Isn't that Super Cool?
And then you can totally just take one of the blocks from the front of your quilt and make an extra one...I stitched these with thread but you could type your story on a square like I talked about. And just like this one below.
 The complete story is typed on this one it just has alot of people's names on it so I didn't want to publish them.
So tell me which one or technique is your favorite of the one's that I did, And please please tell me how you do yours if you have a favorite way.
Because Label we must, so be diligent and try your best. Our future will thank us.
Subscribe to:
Comments (Atom)


